DKIM (DomainKeys Identified Mail) is an email authentication method that helps ensure your message remains exactly as it was sent, without any unauthorized changes along the way. It works by adding a unique digital signature to every outgoing email, which is tied to your domain. This signature acts like a seal of authenticity, telling receiving servers that the email truly comes from you and hasn’t been tampered with in transit.
When an email reaches the recipient’s server, it checks this signature against a public key published in your domain’s DNS records. If everything matches, the email is considered legitimate and more likely to land in the inbox instead of spam. This simple verification step plays a big role in protecting both senders and recipients from phishing, spoofing, and other email-based threats.
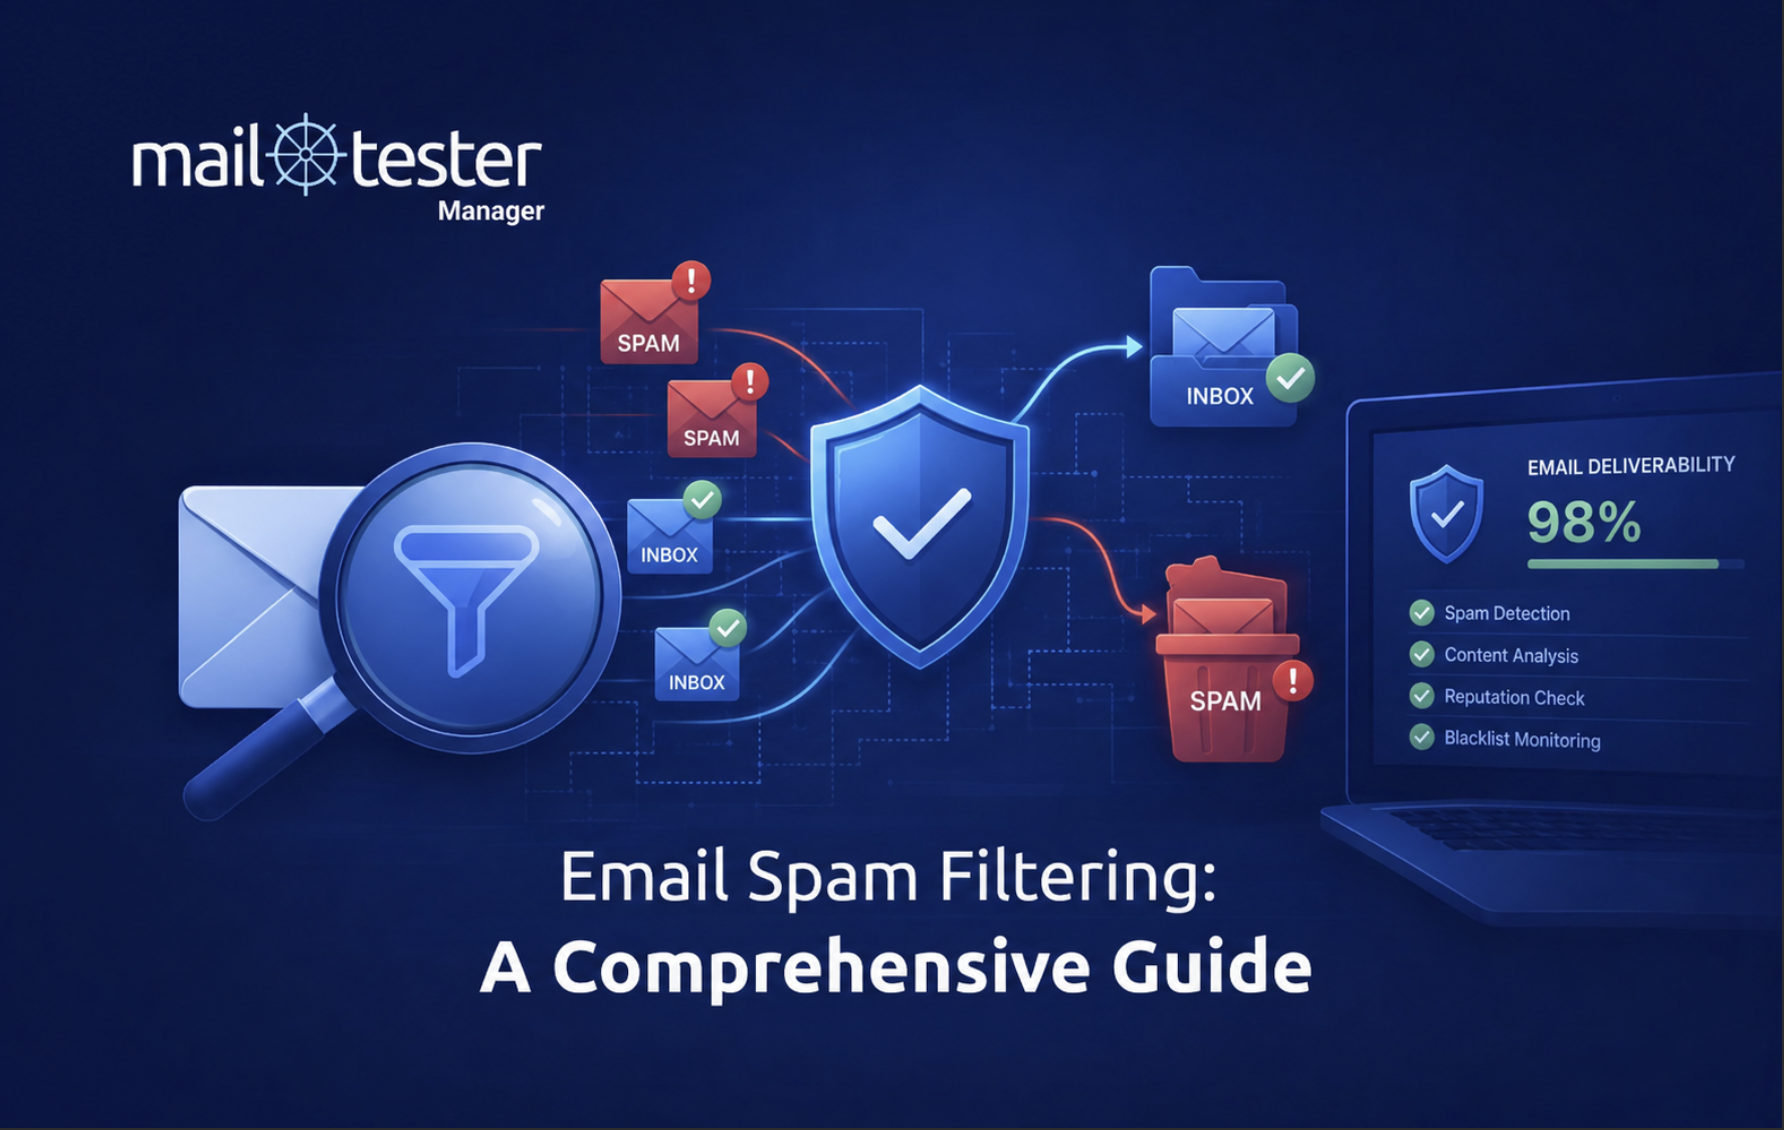
With a large percentage of cyberattacks starting from email, having a strong authentication mechanism in place is no longer optional. DKIM is one of the most effective ways to build that trust and protect your domain’s reputation.
In this guide, you’ll learn how to set up DKIM for Google Workspace, along with understanding why putting it in place is essential for secure and reliable email delivery.
How DKIM Works?
DKIM relies on a method called public key cryptography to verify that an email truly belongs to your domain. It may sound technical, but the process itself is quite structured and happens automatically in the background. Here is how it works step by step:
Key Generation
The process begins with creating a pair of keys that work together. One is a private key, which stays securely within your Google Workspace or Gmail system. This key is never shared. The second is a public key, which you publish in your domain’s DNS as part of your DKIM record.
If you are doing a Gmail DKIM setup, this is the stage where Google generates these keys for you. Understanding how to create a DKIM record becomes important here, since the public key must be added correctly to your DNS for everything to work.
Signing Process
Once the keys are in place, Gmail automatically signs every outgoing email. It uses the private key to generate a unique signature based on specific parts of the email, such as the message content and headers.
This DKIM signature is then attached to the email as a hidden header. Each signature is unique to that email, which means even small changes in the message would result in a different signature. This ensures that the email remains consistent from the time it is sent.
Verification Process
When the email reaches the recipient’s server, the verification begins. The receiving server looks up your domain’s DNS to find the public key that matches the signature. This is why knowing how to create DKIM record correctly is so important.
The server then uses this public key to check whether the signature is valid. If everything matches, the email passes DKIM authentication. If not, the email may be flagged, filtered, or even rejected depending on the receiver’s policies.
Benefits of Setting Up DKIM for Gmail
DKIM adds an extra layer for security to your emails and domain. Here are all main reasons why it’s advised to focus on Gmail DKIM setup:
Enhanced Email Security and Fraud Prevention
Once you complete your Gmail DKIM setup, it becomes difficult for anyone to send emails pretending to be you. This reduces the chances of phishing attempts carried out using your domain. Learning how to create a DKIM record also helps you stay in control of who is allowed to send emails on your behalf.
Improved Email Deliverability and Sender Reputation
Email providers look at authentication signals before deciding where your email should go. When DKIM is properly configured, it tells inbox providers that your domain follows good sending practices. This can improve your sender reputation over time. A correct set up DKIM for Google Workspace supports better inbox placement, especially for regular campaigns or business communication, and reduces the chances of your emails being delayed or filtered unnecessarily.
Trust Enhancement Among Email Recipients
People are more likely to engage with emails when they feel confident about the sender. DKIM helps build that confidence by supporting email authenticity checks behind the scenes. When your domain consistently passes these checks, recipients begin to trust your emails more.
Compliance with Regulatory Requirements
Many industries today are expected to follow strict data protection and email security standards. DKIM plays an important role in meeting these expectations by supporting authenticated email communication. For organizations using Google Workspace, a proper Gmail DKIM setup can help align with compliance frameworks and internal security policies. It shows that your business is taking necessary steps to protect communication channels and reduce the risk of misuse.
Reduction in Email-Based Attacks
Cybercriminals often rely on email to carry out attacks like business email compromise or impersonation scams. DKIM helps reduce these risks by making it easier to detect unauthorized emails that claim to come from your domain. When you know how to create a DKIM record and maintain it correctly, you create an additional barrier for attackers. This lowers the chances of your domain being used in harmful campaigns.
Ease of Monitoring and Reporting
DKIM works well with other authentication tools to give you better visibility into your email activity. Once your Gmail DKIM setup is complete, you can combine it with reporting mechanisms to track how your emails are being handled by receiving servers. This makes it easier to identify issues, spot unusual activity, and improve your overall email strategy. It also helps in making informed decisions about your domain’s security setup.
Prerequisites for Gmail DKIM Setup
Before you begin, make sure you have the following in place:
- Google Workspace Account: It’s essential since it handles the DKIM signing process. It generates and stores the required keys and automatically applies signatures to all outgoing emails from your domain.
- Admin Access: DKIM is configured at the domain level, so only admins can create the keys and adjust the necessary email authentication settings.
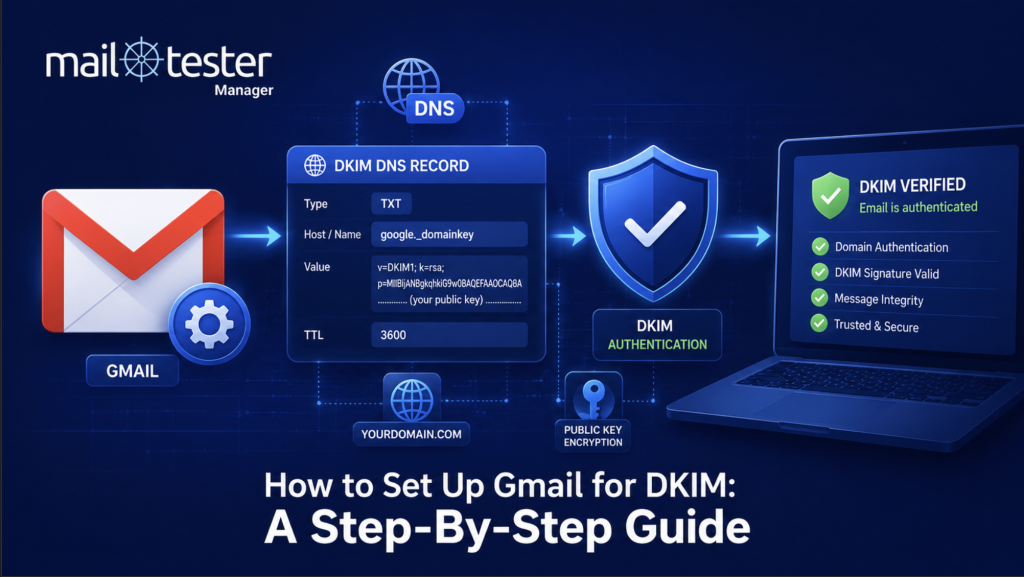
- DNS Access: This involves adding a TXT record so that receiving servers can look up your public key and verify your emails properly.
Step-By-Step Guide to Setting Up DKIM in Google Workspace
Follow these steps and you will be good to go:
Step 1: Open the Google Workspace Admin Console
Start by signing in to your Google Workspace Admin Console using your admin credentials. From the dashboard, go to Apps, then Google Workspace, and click on Gmail to access the email settings.
Step 2: Create Your DKIM Key
Inside the Gmail settings, look for the “Authenticate email” option. Select your domain and click on “Generate new record.” You’ll be asked to choose a key length, usually 1024 or 2048 bits, depending on your security needs. Once generated, Google prepares a DKIM record for you.
Step 3: Publish the DKIM Record in DNS
Google will now provide a TXT record. Copy this carefully. Then log in to your domain hosting provider and open the DNS management section. Add the TXT record exactly as provided.
If you want to double-check formatting or avoid errors, you can also use the EasyDMARC DKIM Record Generator to create and validate your record before adding it. This helps ensure everything is correctly structured.
Step 4: Turn On DKIM Signing
After adding the record, go back to the Admin Console. Select your domain again and click on “Start authentication” to enable DKIM signing for outgoing emails.
Keep in mind that DNS updates can take some time. If activation does not work immediately, wait for a while and try again once the changes have fully propagated.
How to Confirm if Your DKIM Setup is Correct
Once you’ve completed your Gmail DKIM setup, it’s important to verify that everything is working as expected. Do a quick check following the steps mentioned below and confirm whether your DKIM record is correctly published and accessible to receiving servers.
- Go to the EasyDMARC DKIM Lookup tool in your browser
- Enter your domain name in the required field
- Input your DKIM selector (for Google Workspace, this is usually “google” unless you changed it)
- Click on the Check DKIM button to start the process
- The tool will fetch your DKIM record from your DNS
- Review the results shown:
- If the record is found and valid, your DKIM is set up correctly
- If no record is found, your DNS entry may not be added or propagated yet
- If errors appear, check for formatting issues in your TXT record
- If needed, go back to your DNS settings, fix any issues, and run the lookup again to confirm everything is working properly
Best Practices for an Error-Free and Efficient Gmail DKIM Setup
Before you set and forget DKIM, it’s important to actively manage it over time. A well-maintained setup not only keeps your emails secure but also ensures consistent deliverability and domain trust.
Rotate DKIM Keys Regularly
Changing your DKIM keys periodically adds an extra layer of security. It reduces the risk of key compromise and keeps your authentication system strong. For most businesses, rotating keys twice a year is a good practice, but if you handle sensitive data, consider doing it more frequently to stay on the safer side.
Monitor DKIM Performance
Keep an eye on how your emails are performing after DKIM is enabled. Tools like Google Postmaster can help you understand whether your emails are passing authentication checks and reaching inboxes. Regular monitoring helps you catch issues early before they impact your sender reputation or email campaigns.
Adjust Based on Performance
If you notice delivery issues or authentication failures, do not ignore them. Review your DKIM configuration and make necessary updates. Small fixes, such as correcting DNS records or updating selectors, can make a big difference in maintaining smooth email delivery and avoiding disruptions.
Educate Your Team
Make sure your IT and communication teams understand how DKIM works and why it matters. When your team knows how to manage, monitor, and troubleshoot DKIM, it reduces dependency on external help and ensures quicker resolution of any issues that may arise.
Ensure Compliance with Standards
DKIM works best when combined with other authentication methods like SPF and DMARC. Keeping all three properly configured strengthens your overall email security. It also helps your organization stay aligned with industry standards and reduces the chances of email-based threats.
DKIM Setup for Gmail: Key Takeaways
Setting up DKIM for Google Workspace is a crucial step toward building a secure and trustworthy email system. It helps protect your domain, improves deliverability, and strengthens your overall email authentication strategy. Once configured correctly, DKIM works quietly in the background while giving you long-term benefits.
To simplify the process and avoid configuration errors, you can use EasyDMARC’s toolkit. It will help you create, validate, and monitor your DKIM setup with ease. Start your 14-day free trial and take control of your email security with confidence.
Frequently Asked Questions
Yes, you can have multiple DKIM selectors for a single domain. This is useful if you use different email services or want to rotate keys without downtime. Each selector points to a separate DKIM record in your DNS.
If you turn off DKIM, your emails will no longer be signed. This can reduce trust with receiving servers and may impact deliverability. Some emails might start landing in spam or get flagged as suspicious.
DKIM can sometimes fail for forwarded emails if the message content gets changed during forwarding. Even small modifications can break the signature, which may affect authentication results on the receiving server.
DKIM usually starts working once DNS changes have fully propagated. This can take anywhere from a few minutes to 48 hours, depending on your DNS provider. After that, your emails should begin passing DKIM checks.