
If your emails sent through Mailchimp are not reaching the targeted recipients’ inboxes, then they are most probably landing in their spam folders. One of the major issues causing this can be a missing or misconfigured DKIM setup. DKIM basically works by affixing a digital signature to every outgoing email, which helps the receiving server verify if the message was tampered with in transit.
Without a proper Mailchimp DKIM setup, your emails may not reach the inbox. They can fail DMARC checks, lose sender trust, and perform poorly. This matters even more if you send newsletters, bulk emails, or marketing campaigns where inbox placement directly affects results.
The good part is that the DKIM setup for Mailchimp is not complicated if you follow the steps carefully. In this guide, you will learn how to add the required DNS records, avoid common mistakes, and check if everything is working properly so your emails land in the inbox instead of spam.
Why DKIM Mailchimp Setup Matters
Setting up DKIM for Mailchimp emails is more about email deliverability than just a technical checklist. Here is how it enhances your email marketing and communication efforts:
Improved Email Deliverability
DKIM helps email providers like Gmail and Outlook decide whether your email should go to the inbox or the spam folder. When your email is signed with DKIM and passes verification, it shows that your message is trustworthy. This increases the chances of your emails reaching the inbox, especially for marketing campaigns and bulk emails sent through Mailchimp.
Protects Emails From Tampering
DKIM makes sure that the content of your email stays exactly the same from the moment it is sent to the moment it is received. If anyone tries to change the message during transit, the DKIM check will fail. This helps receiving servers detect tampered emails and prevents altered or suspicious messages from being delivered.
Supports DMARC Authentication
DKIM is one of the main methods used by DMARC to verify your emails. If DKIM is not set up properly, your emails may fail DMARC checks. This can lead to emails being sent to spam or even rejected completely. A correct DKIM setup helps ensure your emails pass DMARC and maintain consistent delivery.
Builds Sender Reputation
Every email you send contributes to your domain’s reputation. When your emails are consistently signed with DKIM and pass authentication, it sends a positive signal to mailbox providers. Over time, this builds trust in your domain, which leads to better inbox placement, fewer spam flags, and improved overall email performance.
Helps with Branding and Consistency
When you set up DKIM with your own domain, your emails are clearly connected to your brand. This makes them look more professional and familiar to the person receiving them. Instead of looking random or suspicious, your emails feel more trustworthy, which can lead to better engagement and fewer people ignoring or reporting them as spam.
Steps to Set Up DKIM for MailChimp
Here is an easier step-by-step breakdown of the process of DKIM setup for Mailchimp:
Step 1: Log in to Your Mailchimp Account
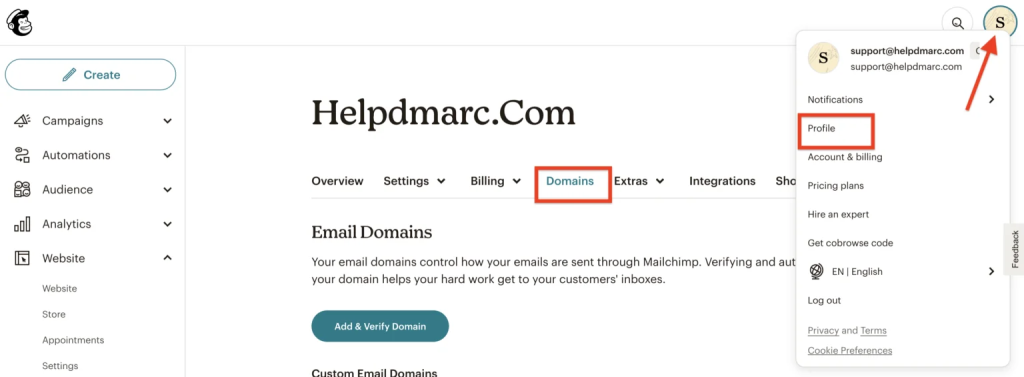
Go to the Mailchimp dashboard, select Profile, then click Domains. Select the domain you want to authenticate. This is where you manage your sending domains and start the authentication process.
Step 2: Start Domain Authentication
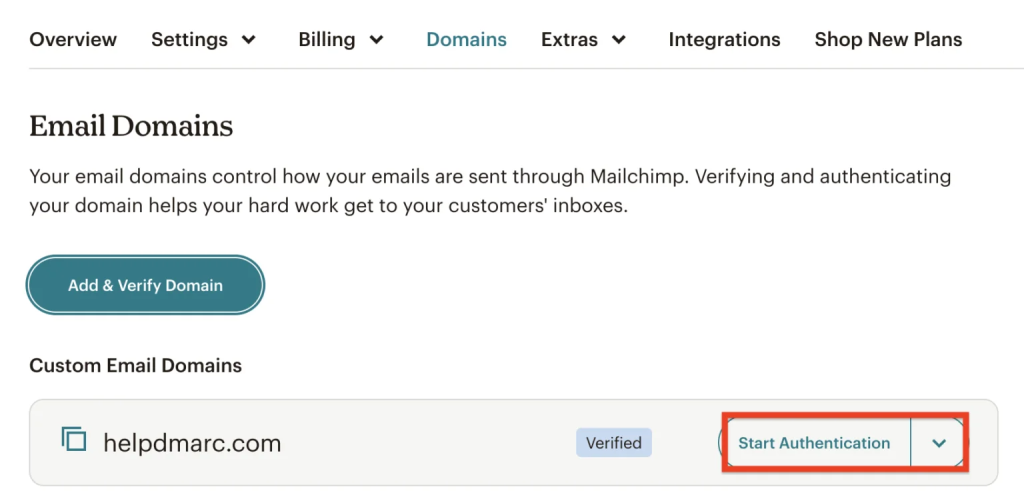
In the Domains section, find your domain and click on the option to authenticate it. This will begin the Mailchimp DKIM setup process and prepare your domain for adding authentication records.
Step 3: Select Your Domain Provider
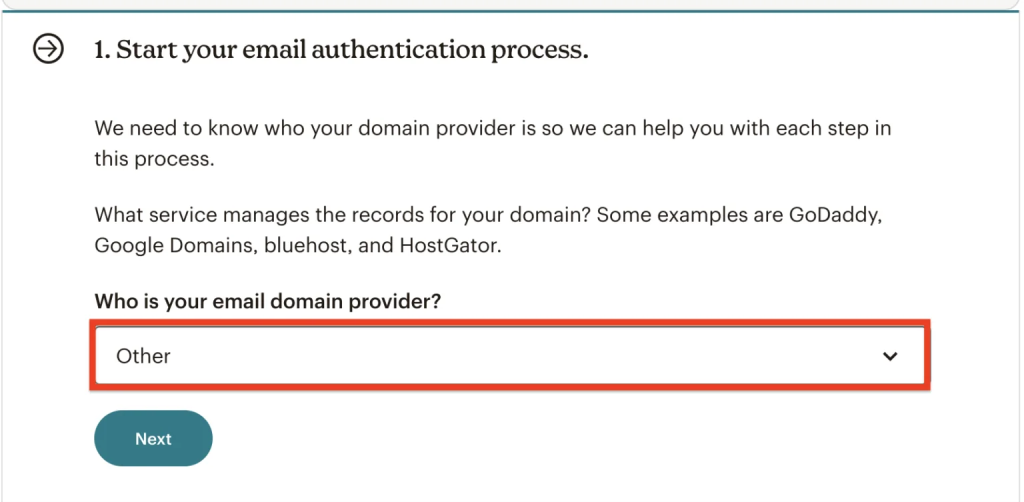
Mailchimp will ask you to choose your domain provider, such as GoDaddy, Namecheap, or others. Select your provider from the list so Mailchimp can guide you with the correct DNS settings.
Step 4: Go to Your DNS Settings
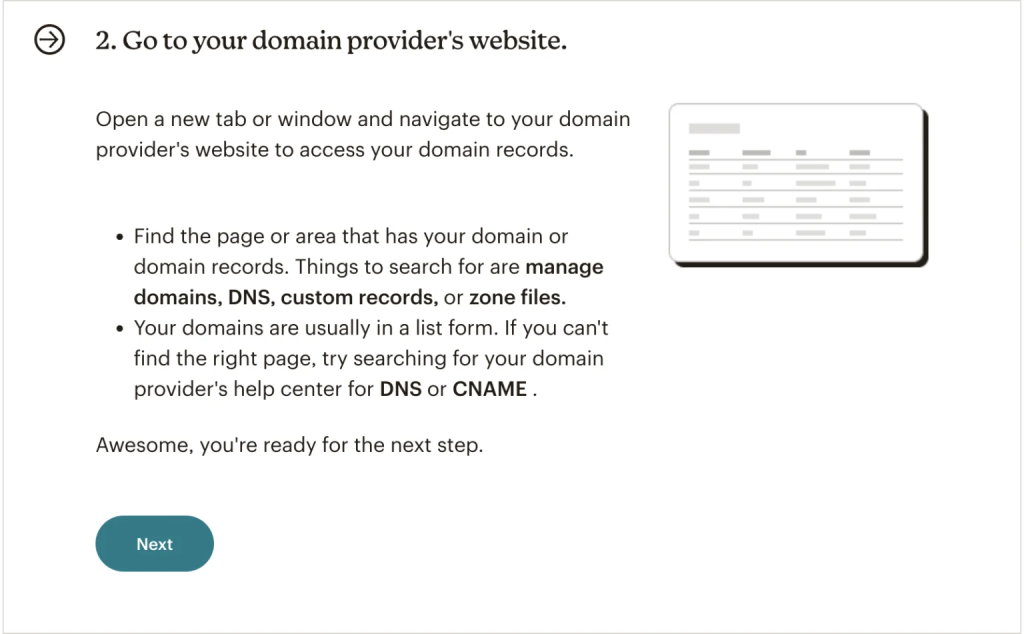
Now, open your domain provider in a new tab and go to your DNS management or DNS zone. This is where you will add or update records for your domain.
Step 5: Add DKIM Records (CNAME)
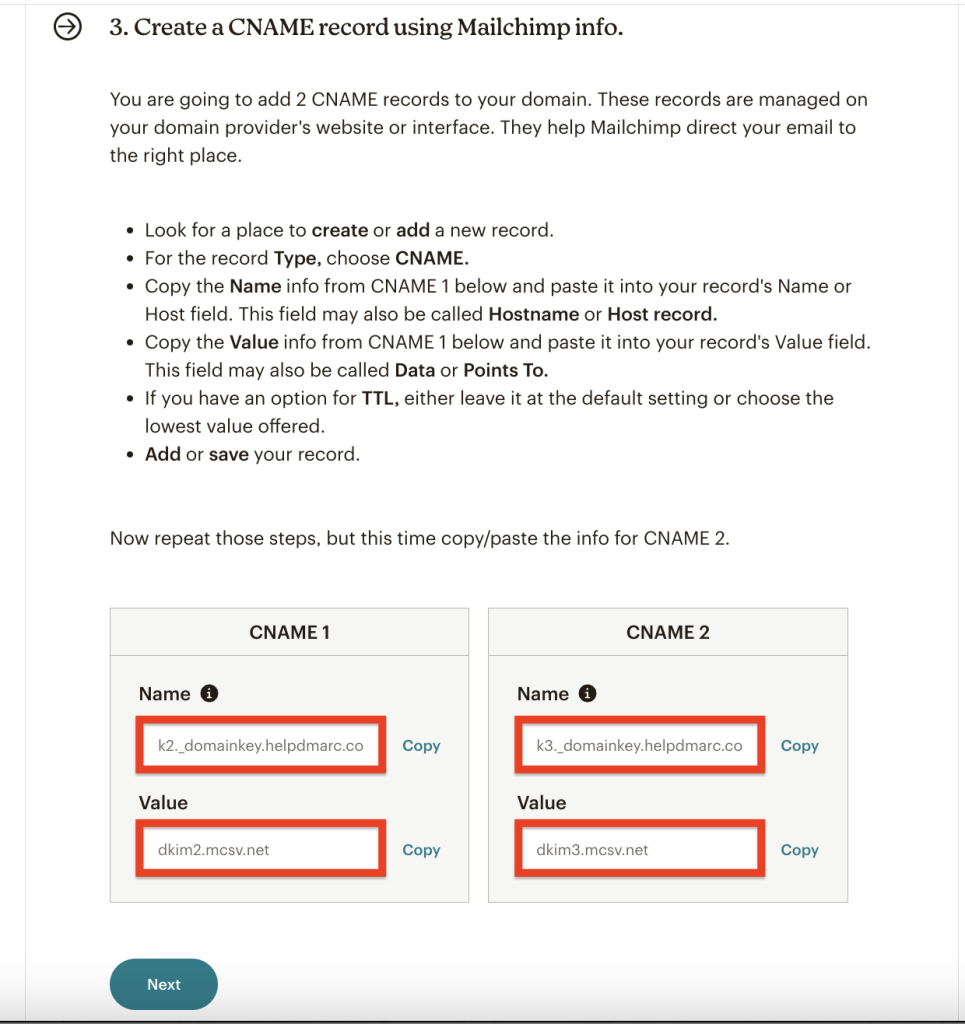
Mailchimp will give you two CNAME records for DKIM. Add these records exactly as shown in your DNS settings. These records allow Mailchimp to sign your emails with DKIM, which helps receiving servers verify them.
Manually generating DKIM records can result in some errors; it’s always better to use an online DKIM record generator. These tools help you create accurate DKIM records based on your domain and ensure there are no formatting errors before you add them to your DNS.
Step 6: Save Changes and Wait
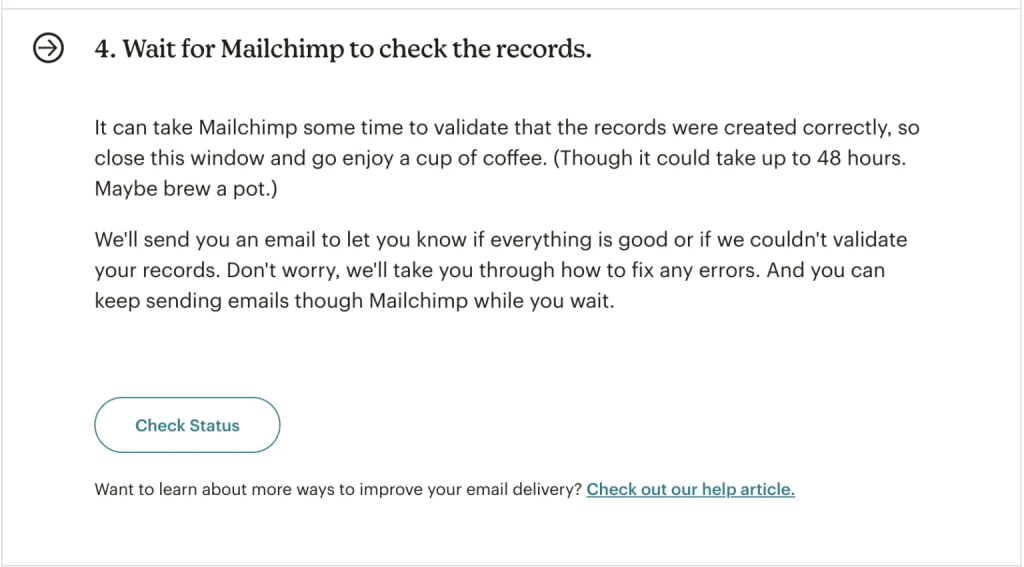
After adding the records, save your DNS changes.
It may take some time for the changes to update across the internet. This delay is normal and depends on your DNS provider.
Step 7: Verify Domain in Mailchimp
Go back to Mailchimp and complete the authentication process.
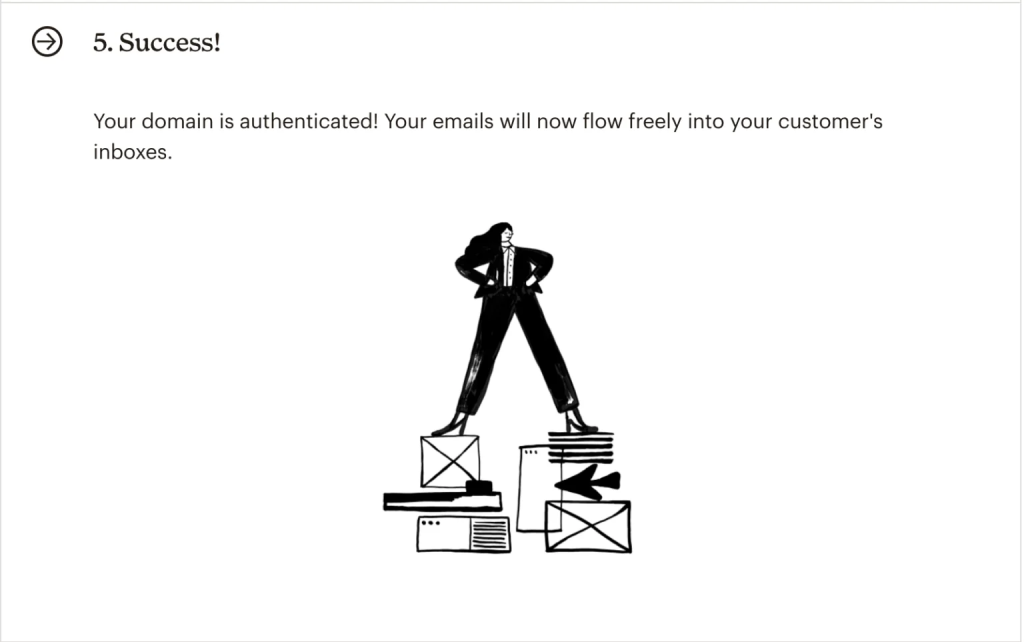
Mailchimp will check your DNS records. Once everything is set correctly, your domain will show as authenticated, and DKIM will be active.
Quick Tip: Even a small mistake in DNS records can break DKIM. Always copy and paste values exactly and double-check before saving.
Step 8: Verify Your DKIM Setup
After completing your Mailchimp DKIM setup, it’s a good idea to check if everything is working correctly. You can use the EasyDMARC DKIM Lookup tool to verify your DKIM record. It shows whether your record is valid and helps you quickly spot any errors.
Best Practices for DKIM Setup for Mailchimp
- Always use your own domain instead of the default Mailchimp domain for better trust and branding.
- Always copy and paste DKIM records exactly as provided to avoid syntax errors that can break authentication.
- Add both CNAME records generated by Mailchimp, since missing even one can cause DKIM to fail.
- Remove any outdated or duplicate DKIM entries.
- Use a reliable DNS provider to reduce delays and avoid record syncing issues.
- Regularly monitor your domain authentication status to catch and fix issues early.
- Set up DMARC along with DKIM to create a complete and reliable email authentication system.
How Can EasyDMARC Help
DKIM errors can quietly hurt your email performance without you even realizing it. EasyDMARC makes it easy to set up, verify, and fix your DKIM so your emails consistently reach the inbox. Start your free 14-day trial and take control of your email authentication today.