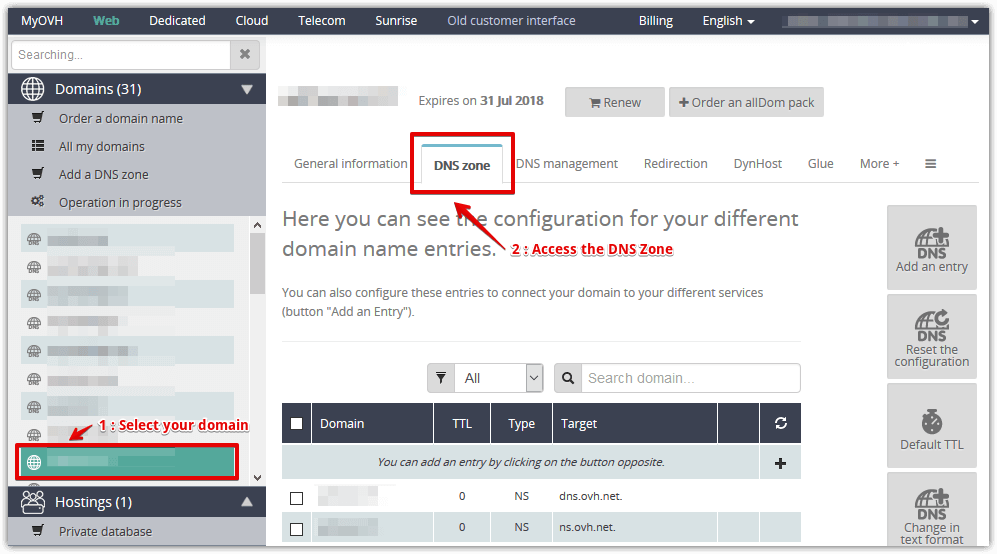
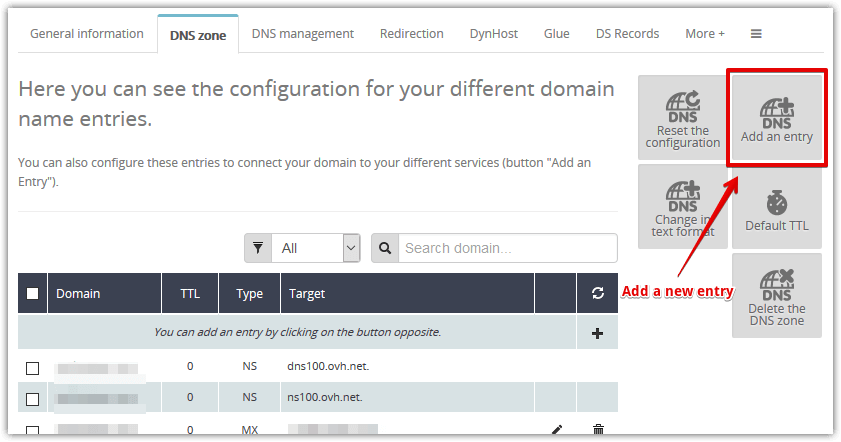
Click on the Add an entry button or edit your existing SPF record.
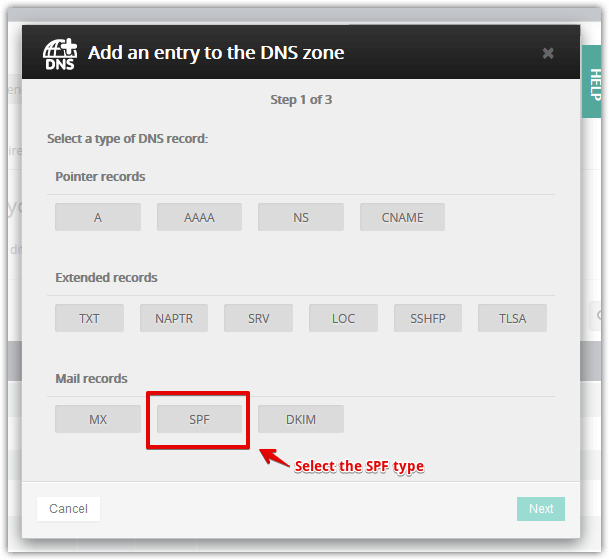
Select the SPF type and click Next.
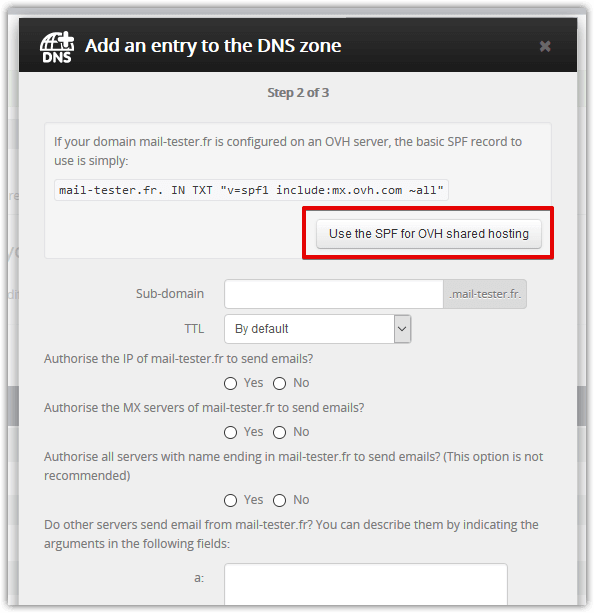
If your domain is hosted by OVH with a shared hosting and you only use your server to deliver emails, simply click on the Use the SPF for OVH shared hosting button.
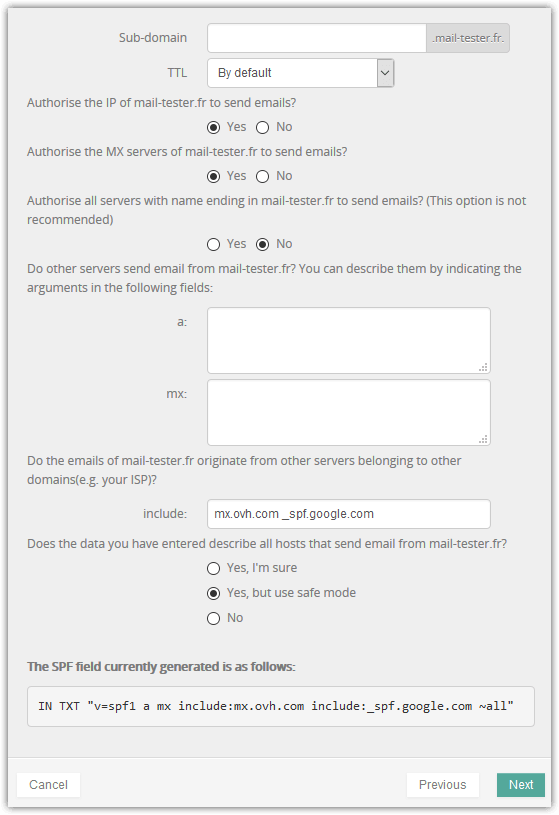
If you use your own server or an external delivery service, fill in the form to create your custom SPF record. Then click on Next.
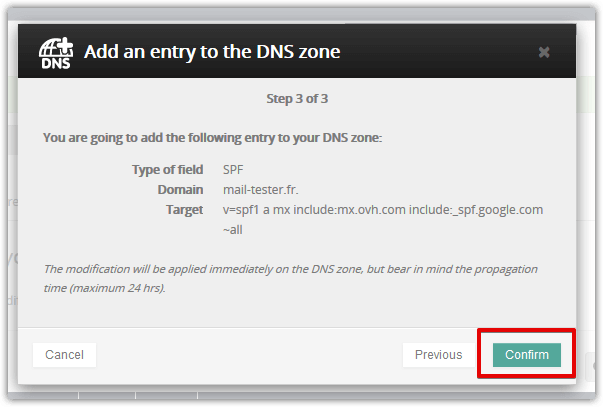
Check your entry and then click on the Confirm button.