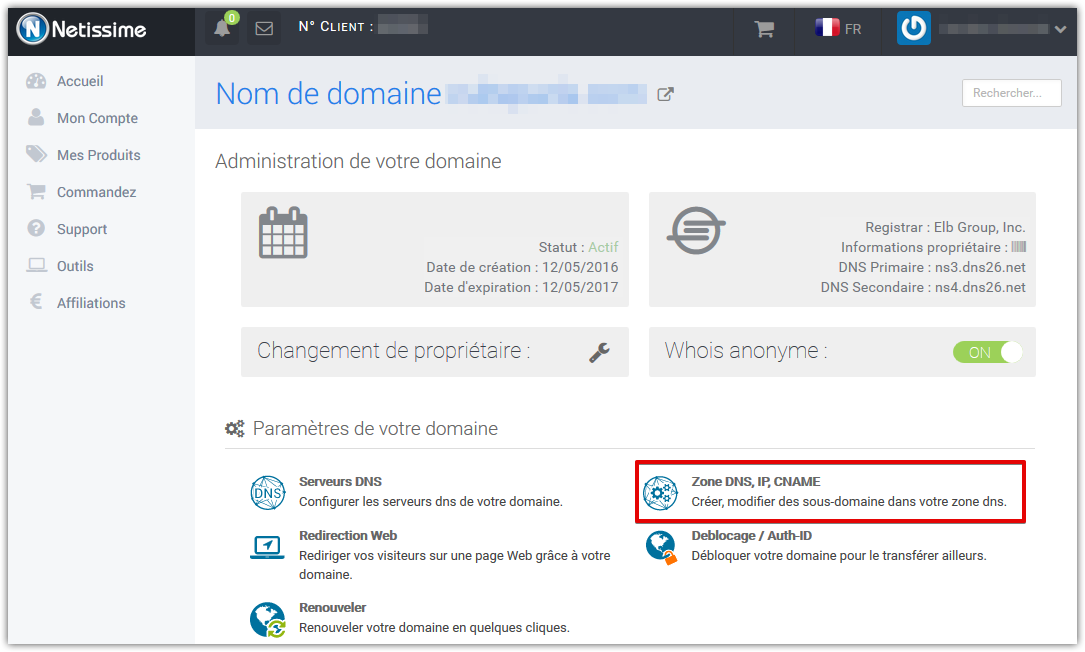
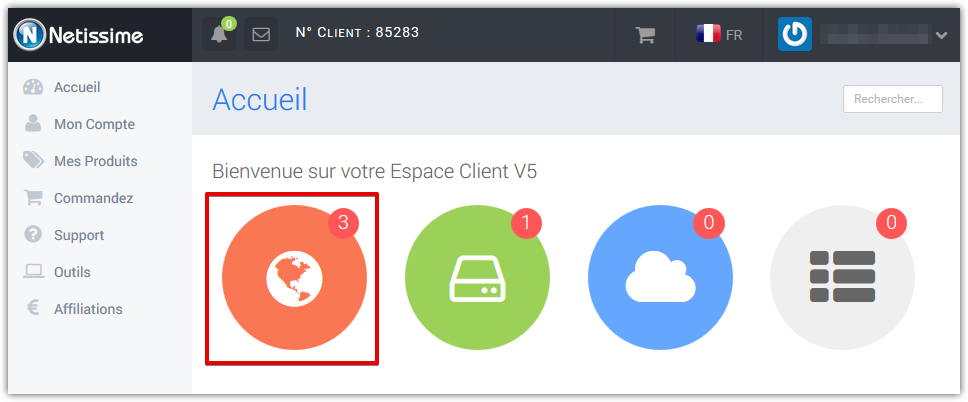
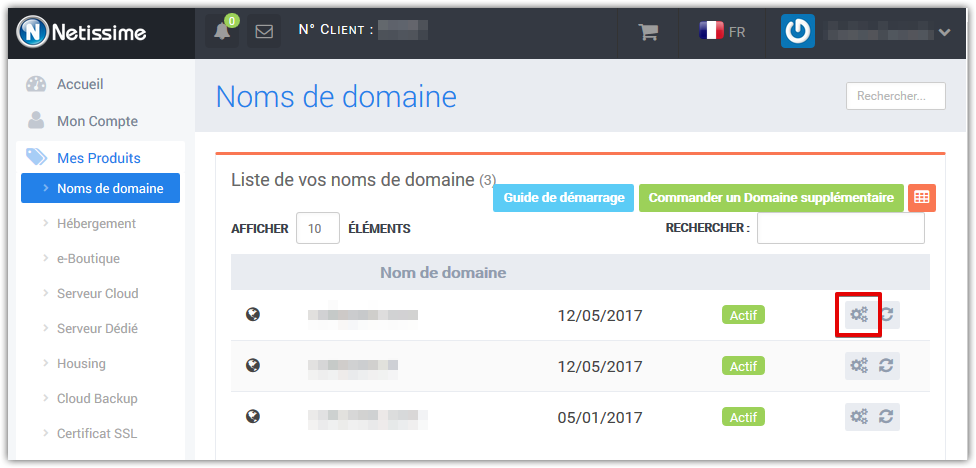
Access the DNS Zone
- Log in to your Netissime customer panel

- Click on the Domains manager to access all your domain names
- Click on the small configuration icon next to your domain name
- Click on the DNS Zone text to access your DNS Manager