
If your emails are landing in spam or not getting delivered properly, missing authentication could be the reason. One of the most important steps to fix this is completing your Outlook DKIM setup. DKIM helps prove that your emails are genuine and have not been changed during delivery.
When you set up DKIM for Outlook, you add a digital signature to your emails that receiving servers can verify. This builds trust with email providers and improves your chances of reaching the inbox.
In this guide, you will learn what DKIM is, how it works, and the exact steps to set it up in a simple way. Even if you are not technical, you can follow along and get it done without confusion.
Please note that while this guide focuses on Outlook DKIM setup, it’s important to know that DKIM is actually configured in Microsoft 365 (Exchange Online). Outlook is the email client, but the authentication settings are managed in the backend.
Is Outlook DKIM Setup the Same as Microsoft 365 DKIM?
Not exactly, but they are closely connected. When people search for “Outlook DKIM setup,” they usually mean setting up DKIM for emails they send from Outlook. But the setup does not happen inside Outlook itself.
DKIM is configured in Microsoft 365, which manages your email in the background. Outlook is just the app you use to send and read emails. So when you set up DKIM for Outlook, you are really setting it up in Microsoft 365. Once it is done, all emails sent through Outlook will automatically be signed with DKIM.
In simple terms, Outlook is where you send emails, and Microsoft 365 is where your email security is managed.
What is DKIM and How Does it Work
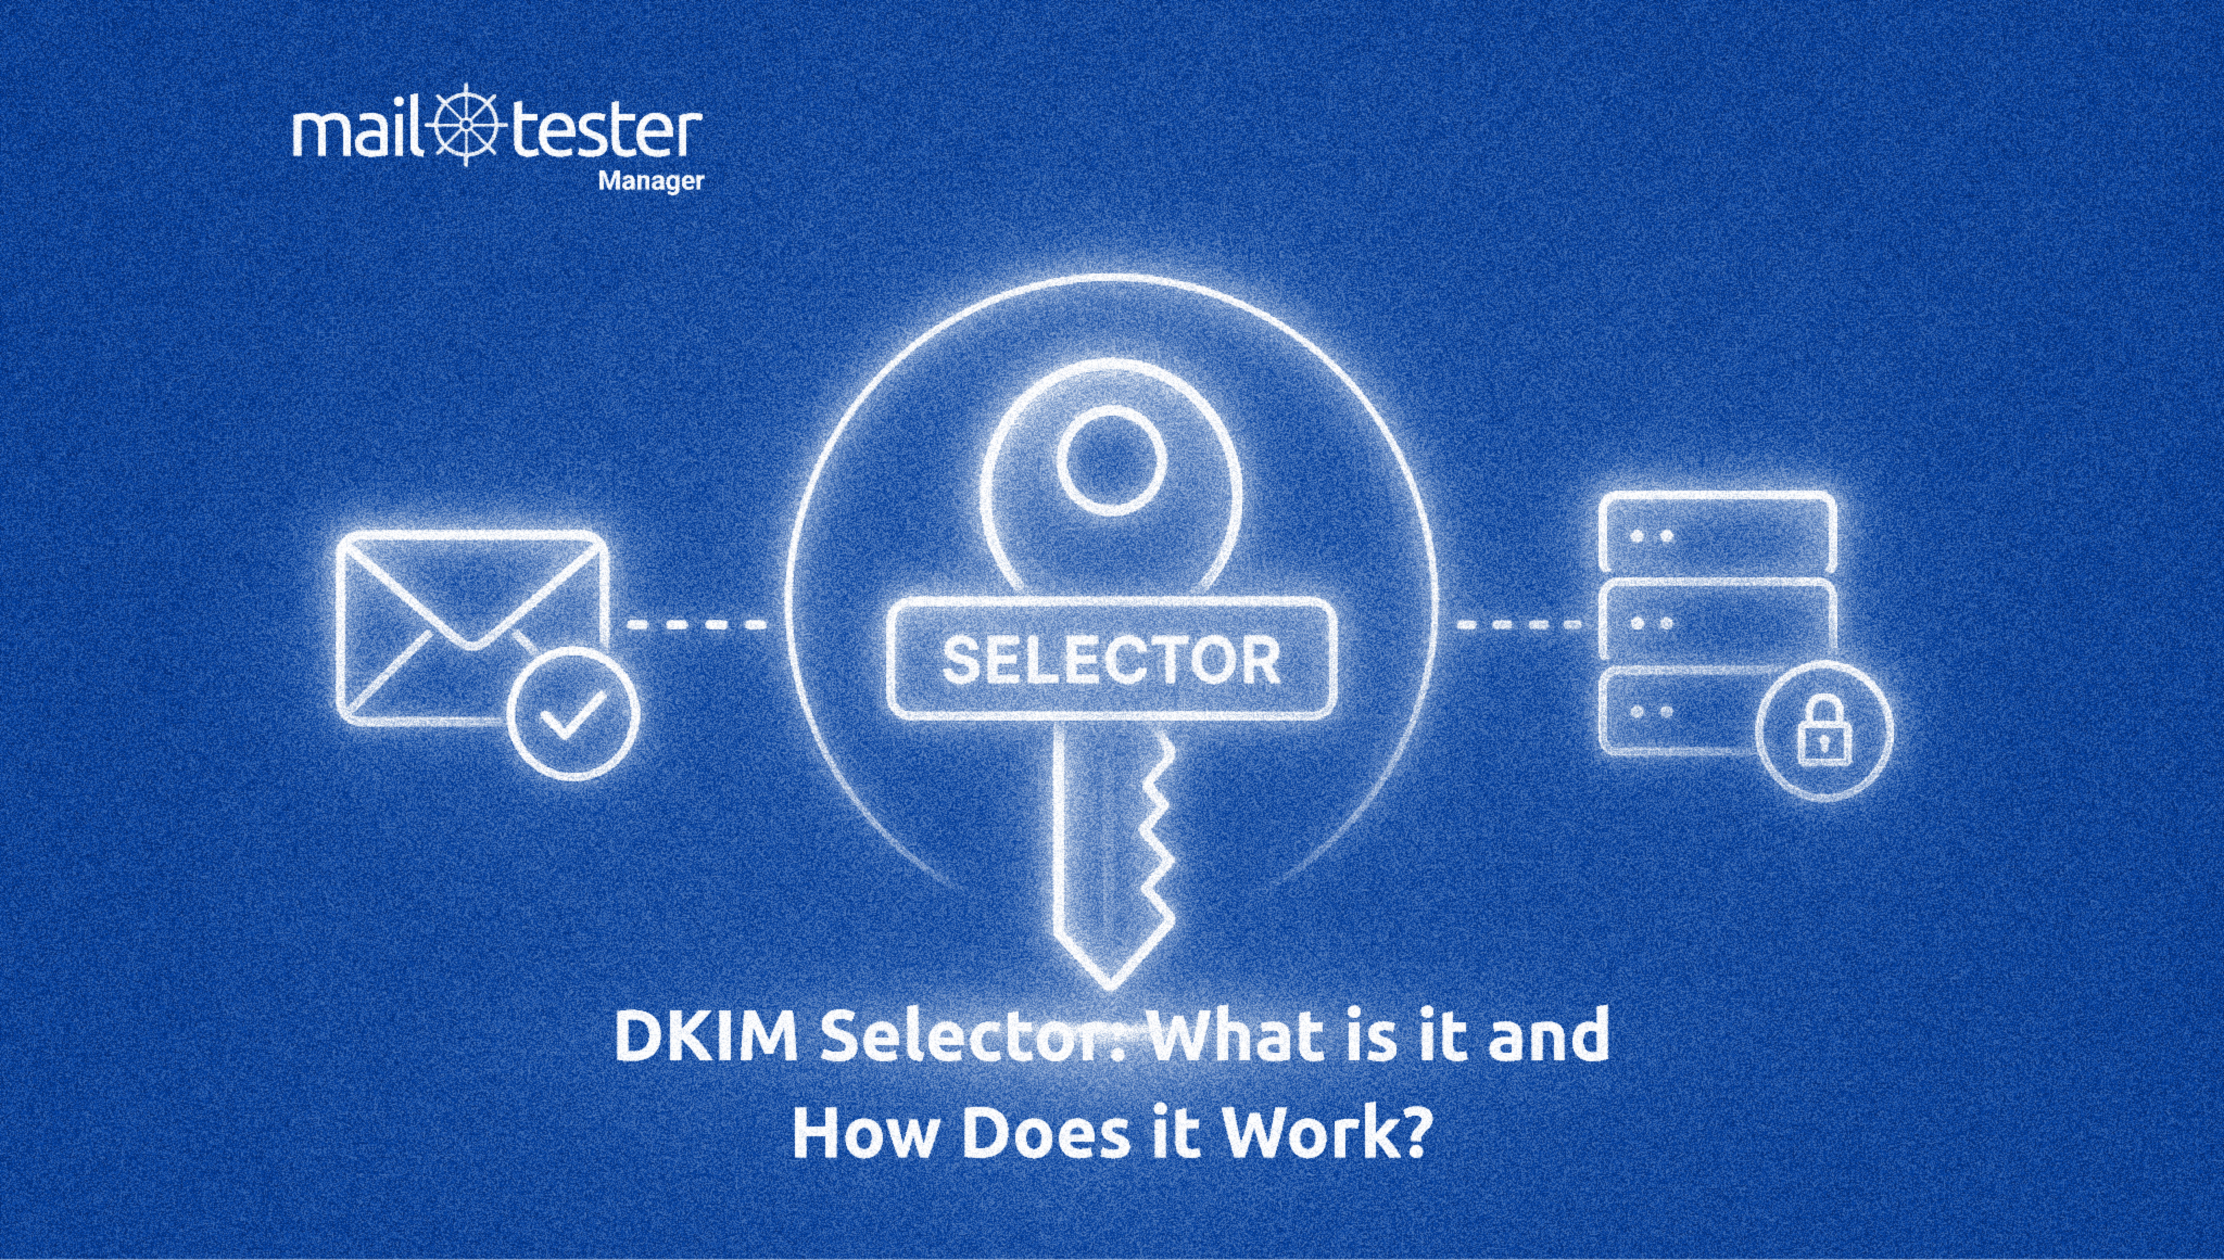
DKIM (DomainKeys Identified Mail) is an email authentication method that ensures your email stays exactly the same from the moment you send it to the moment it reaches the recipient. It does this by adding a unique digital signature to every outgoing email, linked to your domain. This signature works like a seal, showing that the email is genuine and hasn’t been altered.
When you complete an Outlook DKIM setup, a pair of keys is created—a private key and a public key. The private key stays securely with your email system and is used to sign every outgoing email. This signature is added as a hidden header to the message.
The public key is published in your domain’s DNS records. When the email reaches the recipient’s server, it looks up this public key and uses it to verify the signature. If everything matches, the email passes DKIM authentication and is considered trustworthy.
So, when you set up DKIM for Outlook, you create a system that automatically verifies every email. This helps prevent tampering, improves inbox placement, and protects your domain from spoofing and phishing attacks, making your overall Outlook email setup DKIM much more secure and reliable.
Advantages of Outlook DKIM Setup For Your Domain
DKIM is not just a technical setup. It directly impacts how secure, trusted, and successful your emails are. Here are the main reasons why domain owners are encouraged to set up DKIM for Outlook:
Stronger Protection Against Spoofing
When you complete your Outlook DKIM setup, it becomes much harder for attackers to send emails pretending to be your domain. Since every email is signed with a private key, unauthorized senders cannot replicate that signature. This reduces phishing risks and keeps your domain identity protected.
Better Inbox Placement and Reputation
Email providers check authentication signals before deciding whether your email goes to the inbox or spam. When you set up DKIM for Outlook, it shows that your domain follows proper sending practices. Over time, this improves your sender reputation and increases the likelihood that your emails reach the inbox rather than being filtered.
Builds Trust With Recipients
People are more likely to open and engage with emails they trust. DKIM helps establish that trust by proving your emails are authentic. When your emails consistently pass DKIM checks, recipients feel more confident that the message is genuinely from your business.
Helps Meet Security and Compliance Needs
Many businesses today need to follow strict security standards. DKIM supports authenticated communication, which helps you align with these requirements. A properly configured system not only secures your emails but also shows that your business takes email security seriously.
Prerequisites for Outlook DKIM Setup
Before you start the Outlook DKIM setup, make sure a few basic things are already in place. This will help you avoid errors and complete the setup smoothly.
- Active Microsoft 365 Account: You need a Microsoft 365 account where you have admin access. Without admin rights, you will not be able to turn on or manage DKIM settings.
- Verified Domain in Microsoft 365: Your domain should already be added and verified in Microsoft 365. This just means Microsoft knows that you own the domain. If it is not verified, DKIM will not work.
- Access to DNS Settings: To set up DKIM for Outlook, you will need to add some records to your domain’s DNS. For this, you should have login access to your DNS provider, such as GoDaddy or Cloudflare, or to the place where your domain is managed.
- Basic Understanding of DNS Records: You do not need to be highly technical, but knowing how to add or edit DNS records will make the process easier. Even a small mistake in the record can cause DKIM to fail.
- Email Sending Enabled for the Domain: Ensure your domain is already configured to send email through Microsoft 365. DKIM works on outgoing emails, so your email service should be active before you begin.
Steps to Set Up DKIM in Outlook
Setting up DKIM might sound technical, but if you follow these steps one by one, it’s actually quite simple. Here’s how to complete your Outlook DKIM setup:
Step 1: Log in to Microsoft Defender Portal
Go to the Microsoft Defender portal and log in with your admin account. Once inside, go to Email & Collaboration > Policies & Rules > Threat Policies. This is where DKIM settings are managed.
Step 2: Find DKIM Settings and Generate Keys
Click on DKIM (DomainKeys Identified Mail). Now select your domain from the list.
If DKIM is not yet active, click Enable. You will see an option to create DKIM keys. Click it, and Microsoft will generate the required records for you.
Step 3: Add DKIM Records to Your DNS
You will now see two CNAME records. These are important.
Copy both records and go to your domain’s DNS settings (like GoDaddy or Cloudflare).
To set up DKIM for Outlook, do this:
- Add a new record
- Select type as CNAME
- Paste the values exactly as given
- Save the changes
Make sure there are no mistakes while copying.
Step 4: Enable DKIM
After adding the records, wait a while for them to update. Then return to the Defender portal and enable DKIM for your domain.
That’s it. Your Outlook email DKIM setup is now complete, and your emails will be properly authenticated.
How to Troubleshoot Common DKIM Errors in Outlook Setup
If your Outlook DKIM setup is not working, don’t worry. Most issues are small and easy to fix once you know where to look.
Check DNS Records Carefully
Go to your DNS settings and review both CNAME records. The host name and value must match exactly what Microsoft provided. Check for missing characters, extra spaces, or wrong record types. Also, make sure you selected CNAME, not TXT or anything else.
Give DNS Time to Update
After adding the records, DNS needs time to update across servers. This is called propagation. It can take anywhere from a few minutes to 24 hours. During this time, DKIM may still show as not configured even if everything is correct.
Make Sure DKIM Is Enabled
After adding the DNS records, go back to Microsoft Defender and enable DKIM for your domain. If you skip this step, emails will not be signed. Always confirm that the status shows as enabled.
Verify the Correct Domain
If your account has multiple domains, double-check that you selected the right one while adding records and enabling DKIM. The domain used for sending emails must match the domain where DKIM is set up.
Check Admin Access
To set up DKIM for Outlook, you need proper admin permissions. Without it, you may not see DKIM options or be able to enable them. Use an admin account or ask your administrator for access.
Final Thoughts on Outlook DKIM Setup
Setting up DKIM is a simple but important step to protect your emails and improve delivery. Once your Outlook DKIM setup is complete, your emails become more trustworthy and less likely to land in spam.
To make things easier, you can try EasyDMARC’s 14-day free trial. We will help you manage DKIM, monitor your email authentication, and fix issues without confusion.